
:Introduction
,Sampler (also known as a micropipette) is one of the most important and widely used tools available in various departments of laboratories
.which is used to collect and transfer a certain volume of desired liquids and solution
.Its role is critical in experiments where even a tiny error in volume measurement can affect the outcome
?What is a Sampler-
A sampler is a precision instrument designed to aspirate and dispense small, accurate volumes of liquid, typically in the microliter range (µL)
.It is widely used in medical laboratories, pharmaceutical research, biotechnology, and chemical analysis

types of samplers:
Fixed Volume Sampler: only displaces a specific and determined volume of liquid sample
.Variable Volume Sampler: can be used on a specified volume between the minimum and maximum range
.Single-Channel Sampler: Designed for aspiration one sample at a time
.Multi-Channel Sampler (8 or 12 channels): Ideal for microplate-based tests
The basic working principle of samplers is mechanical, suction and dispensing are performed manually which requires skill and experience
.because it must be done slowly and skillfully; otherwise, the device may operate incorrectly
Unlike other samplers, the electronic sampler operates based on electronic power and does not require much human effort
.Suction and discharge in these micropipettes are performed uniformly based on the device settings
:Technical Specifications
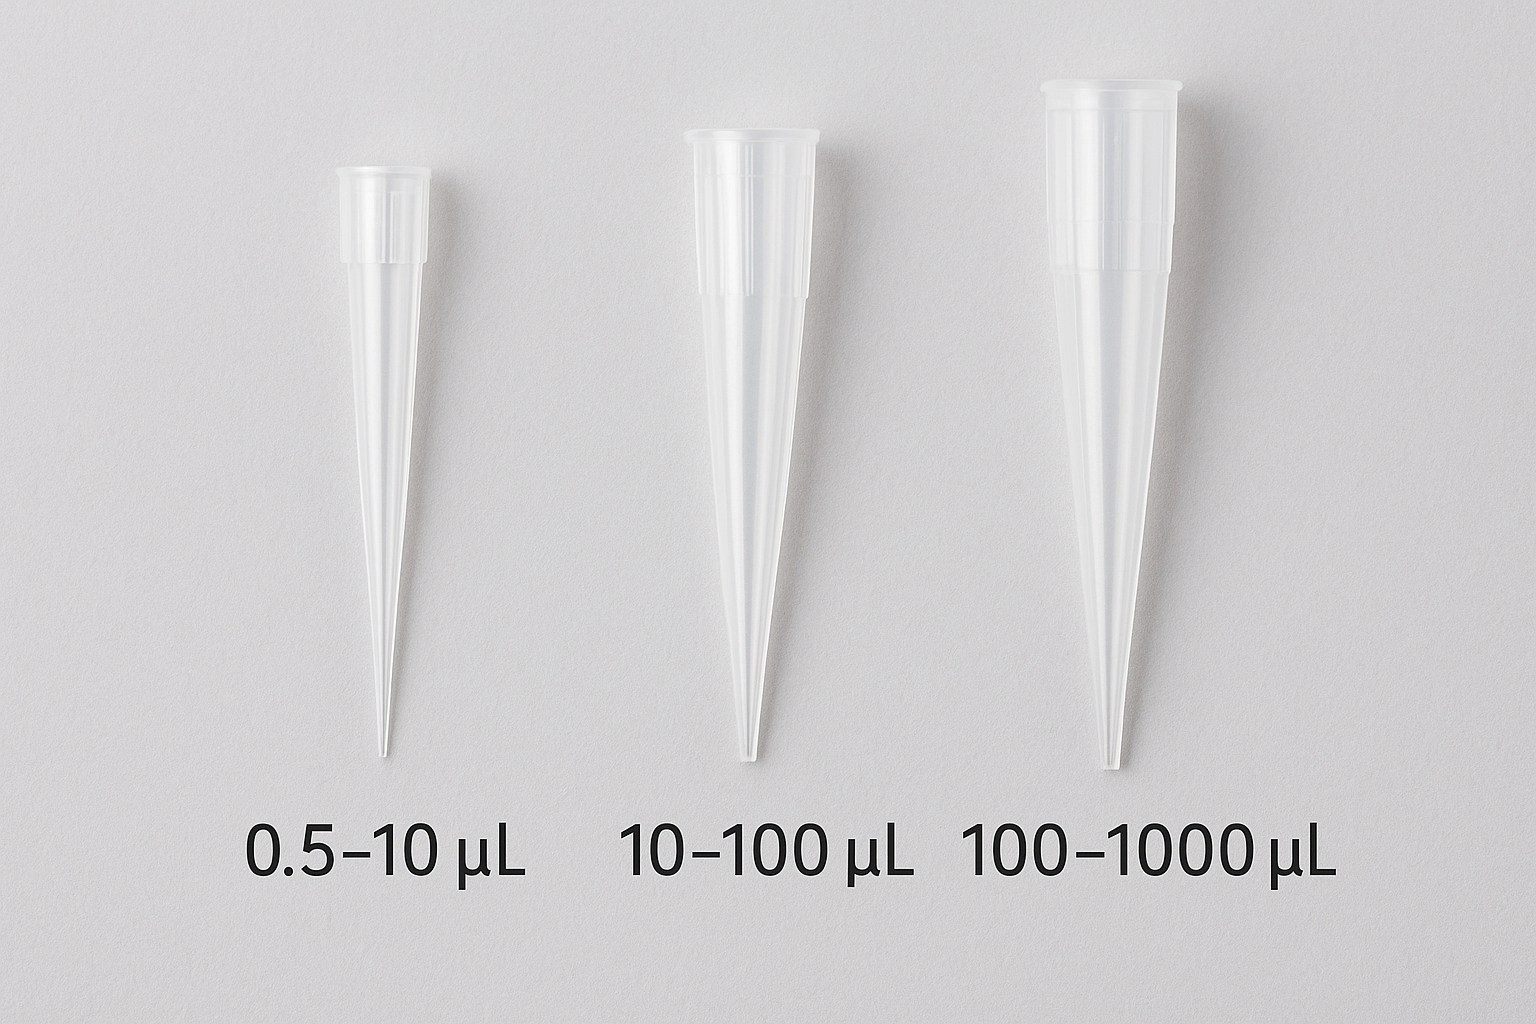
Volume range: Common ranges include 0.5–10 µL, 10–100 µL, 100–1000 µL
Accuracy and precision: expressed as the percentage of deviation (±) from the set volume
Autoclavable parts: Some models allow sterilization for contamination-free use
.Ergonomic design for comfort during repetitive use

:How to Use a Sampler
1) Connect the appropriate sampler head firmly
2) Press the sampler plunger down to step 1.
3) At the same time, immerse the sampler plunger vertically to about 3 mm into the sample, liquid or solution without leaving it.
4) Slowly release the plunger so that the liquid enters the sampler head. At this stage, no bubbles should be seen inside the sampler’s head. Otherwise, you will have to repeat the liquid operation. Clean the outside of the sampler head with gas.
5) To empty the volume in the sampler head, first stick the sampler head to the inner wall of the test tube.
6) Gently push the plunger down to step 1. Wait 3-1 seconds, then press the plunger to step 2 until the liquid is completely empty.
7) While the plunger is pressed down to the last step, take out the sampler so that the head of the sampler is rubbed against the wall of the tube when it rises.
Release the plunger.
8) Discard the head of the sampler and if it is not necessary to use the sampler again, place it in the appropriate base.
Note: 1- Never place the sampler horizontally on the desk while the liquid is drawn inside the sampler’s head!
Maintenance and Calibration:
Regular cleaning and calibration ensure accuracy and extend the life of the sampler.
Always store the sampler vertically and avoid dropping or exposing it to corrosive chemicals or thick acids.
“From Glass Pipettes to Modern Samplers:

A Revolution in Liquid Handling”
In the past, laboratories relied on glass pipettes and manual volumetric tools, which required mouth pipetting or simple suction devices.
These methods were time-consuming, less accurate, and posed a significant contamination risk
Modern samplers revolutionized liquid handling by improving precision, speed, and safety.
Comparison Table:
|
|
|
|||
|---|---|---|---|---|---|
|
|
|
|||
|
|
|
|||
|
Requires practice, slower |
|
|||
|
|
|
|||
|
|
|
